
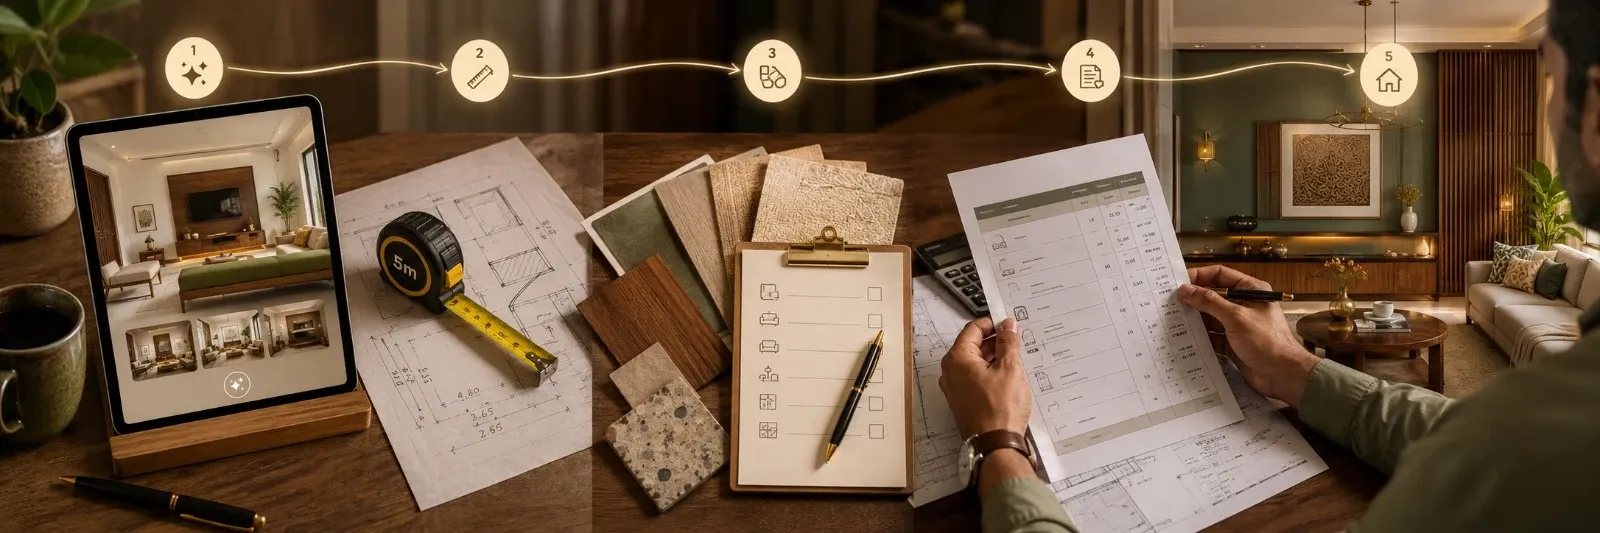
AI Design Inspiration to Real Quote: A Homeowner's Checklist
Every stage of this journey has a guide somewhere online. How to photograph a room, how to write a prompt, how to talk to a contractor. What's missing is the whole thing laid out together, start to actual quote in hand, so you're not piecing it together from six different tabs.
Here it is, as an actual checklist for anyone using an ai interior design tool to plan a renovation. Print it, screenshot it, whatever gets used.
Phase 1: Generate the Inspiration
☐ Photograph your room properly. Corner of the room, phone at chest height, full frame including window and ceiling line. Daylight plus your room lights on, both together, not one or the other.
☐ Generate at least three or four style directions from that same photo using an ai room renovation tool. Not one. A single render tells you almost nothing about what you actually prefer in your room design.
☐ Note your gut reaction to each version before analysing why. Sometimes the honest response, that one just feels right, matters more than a checklist of features.
Phase 2: Ground It in Reality
☐ Measure the actual room. Length, width, ceiling height, all in feet. The render has no idea what your real dimensions are.
☐ Mark down anything fixed, plumbing points, electrical points for chimney or AC, structural columns, beams. None of this shows up in a photo and none of it is negotiable.
☐ Translate vague material language into real, named products. "Wood finish" becomes teak veneer or matte laminate. "Stone" becomes granite or quartz, stated directly.
☐ Check the render's layout against your real measurements. A work triangle or furniture arrangement that looked fine in the image might not survive contact with your actual room's dimensions.
☐ Write down anything vastu-related or family-specific that matters to you. Bed direction, kitchen facing, a fixed pooja shelf, whatever it is, state it plainly since no ai interior design tool picks this up on its own.
Phase 3: Build Your Actual Shortlist
☐ Pull out four or five concrete decisions from the render rather than trying to replicate the whole image. Colour family. Material category. General style language. That's your real room design brief.
☐ Decide what you're sharing versus what stays private. Share the render, measurements, and shortlist, that part's straightforward. Your actual maximum budget and contingency reserve, though, keep those to yourself, because the moment a ceiling gets mentioned, quotes have a funny way of landing right at it.
Phase 4: Take It to a Professional
☐ Bring the render from your ai room renovation tool, measurements, and shortlist to a designer or vendor. Not a carpenter first, a designer. There's a real gap between an image and something buildable, and a designer closes it far better than someone working straight off a printed photo.
☐ Ask for an itemised bill of quantities. Not a single number that covers "everything." List materials, dimensions, fittings, each one separately, that's really the only way you'll be able to compare quotes properly later on.
☐ Collect two or three quotes against that same identical spec sheet. Here's the thing nobody tells you, the price gap between vendors for what's supposedly the exact same scope can be wider than most people assume, and you only see it once everyone's quoting off the same paper.
Phase 5: Sanity-Check Before You Sign
☐ Get a realistic timeline confirmed in writing. Not something said over a phone call. Measurement, materials, fabrication, installation, each stage eats real time, and vague verbal timelines are almost always where disputes start later.
☐ Budget an extra 15 to 20 percent on top of whatever quote you accept. Something always comes up, an unexpected wiring issue, a material substitution, a delay, and having room for it prevents the whole project from feeling like it's falling apart at the first surprise.
☐ Get in writing exactly what's fixed and what's still open to change. Verbal understandings evaporate the moment work actually starts.
Why This Actually Saves Money, Not Just Time
This isn't just process for the sake of process. There's actual survey data behind it. Roughly half of homeowners who tried ai room design tools reported real savings on their project, several hundred rupees converted worth in the US studies this comes from, and the reason wasn't luck. It was catching a mismatched colour or an oversized piece of furniture before any money left their hands. More than three in five said flat out that an AI visualization stopped them buying something that would've been wrong for the space. Which is really the whole point of Phases 1 and 2, catch it before it becomes expensive, not after.
The Checklist at a Glance
|
Phase |
Key Actions |
|
1. Generate |
Proper photo, 3-4 style directions, note honest reactions |
|
2. Ground in Reality |
Real measurements, fixed points, material translation, vastu notes |
|
3. Build Shortlist |
4-5 concrete decisions, shareable vs private split |
|
4. Take to a Professional |
Designer over carpenter, itemised BOQ, 2-3 quotes |
|
5. Sanity-Check |
Written timeline, 15-20% contingency, fixed vs open in writing |
Final Thoughts
Nothing about the gap between a render you love and a quote you can act on is actually complicated. It just rarely gets written down anywhere, start to finish, in one place. Real measurements. Real material names. A brief that's clear about what's shared and what isn't. A timeline that's in writing, not remembered. Run a good ai room renovation tool through these five phases once, properly, and the next room design goes a lot faster.
In Case You Missed Anything
Everything you need to know about transforming your space with AI
You can skip ahead, plenty of people do, but skipping Phase 2 specifically, real measurements and material translation, is where most expensive misunderstandings start. The full checklist takes maybe an extra hour and prevents most of the back and forth that follows a vague brief.
Generating and reviewing renders can happen in an afternoon. Measuring and translating materials is another hour or two. Getting quotes typically takes one to two weeks depending on vendor availability. Altogether, expect one to three weeks from start to quote in hand for most single-room projects.
Real measurements, hands down. Someone falls for a render's layout, hands it straight to a vendor, and only then discovers the furniture was never going to fit their actual room. Nothing else on this list prevents more heartbreak than that one step.
Both, honestly. The render, straight from an ai interior design tool, carries mood and direction better than words ever could, but it's the shortlist that turns into something a vendor can actually quote against. One without the other leaves a gap.
Usually, yes. Two gives you a comparison. Three tells you whether one of those two was an outlier, way too high or suspiciously low, something that's genuinely hard to spot with just a pair of numbers sitting next to each other.
Your real ceiling and your contingency amount. Both of those numbers exist for your own decision-making, not to shape how someone else prices the job, and sharing them tends to do exactly that.
It scales either way. For a whole home, run Phases 1 through 3 separately per room first, then pull everything into one shared brief once you hit Phase 4. Trying to juggle every room at once from the start usually just creates chaos instead of saving time.